Measurement Sensors
Gap/Clearance Measurement
When looking for the best way to measure gap/clearance, there are several important factors to consider: the shape and material of the target, the type of measurement system and the installation environment. Selecting equipment that doesn't adequately meet your needs can lead to insufficient precision and increased man-hours during production. This site is designed to help users determine the best way to perform measurement with confidence in regards to a gap/clearance measurement system.
Get detailed information on our products by downloading our catalog.
View Catalog

Gap measurement of transparent targets
With transparent bodies, the target is illuminated from above by a laser, so gaps can be measured by light transmitted through the body.
Sensor head selection is important
- Is at least the minimum gap provided so that the two surfaces can be identified?
- Can measurement be performed stably even if the two surfaces have different reflectance?
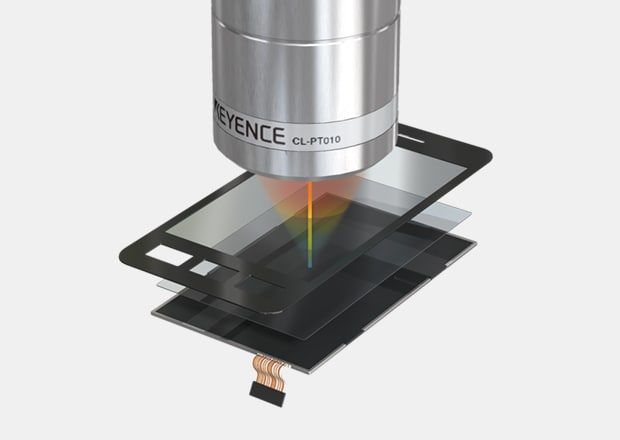
Gap measurement of touch panels
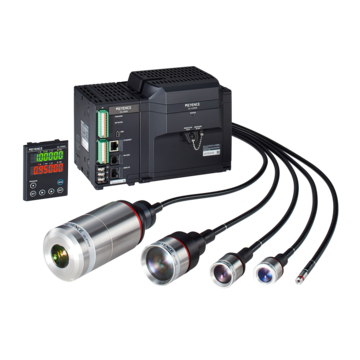
Confocal Displacement Sensor CL-3000 series
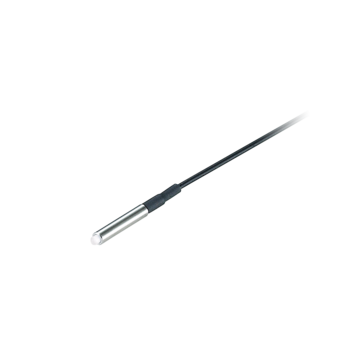
Micro-head Spectral-interference Laser Displacement Meter SI-F series
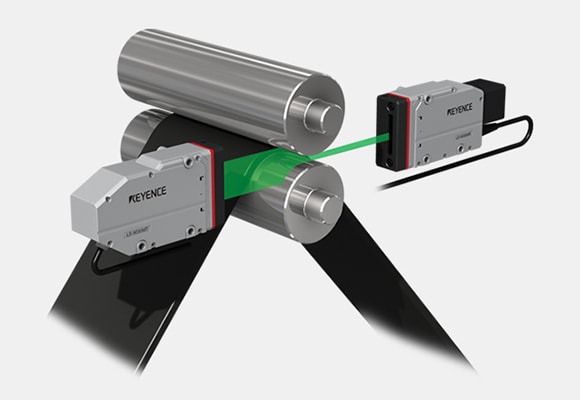
Gap measurement of rolls with a thrubeam-type sensor
Gap is determined by measuring the width of the transmitted light. Roll run-out and gap can be measured simultaneously. Installation space is required on both left and right sides.
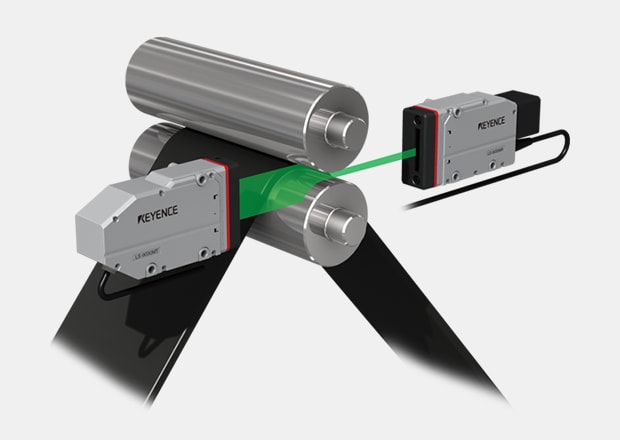
Gap measurement between rolls

High-speed optical micrometer LS-9000 series
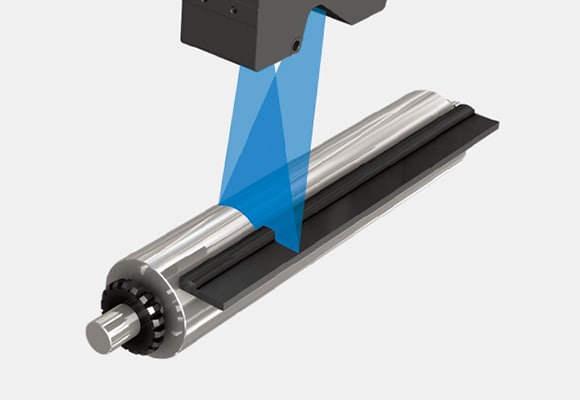
Gap measurement of rolls with a reflectance-type sensor
The laser line reflects back to the sensor and is used to create a profile of the target. From this profile, we can measure features such as step heights and gaps. Even gaps of tilted targets can be measured accurately with the position correction function. Gap and step height measurements can be taken simultaneously.

Gap measurement between rolls

2D/3D Laser Profiler LJ-X8000 series

Confocal Displacement Sensor CL-3000 series
Components of a Gap/Clearance Measurement Tool
Components of the gap measurement tools, in the context of measurement sensors, depend on the application.
Measurement sensors have their own unique design and excel in different areas. However, typical gap measurement tools usually consist of an emitter and a receiver.
Receivers process and store measurement data when integrated into a production line. This allows gap measurement tools to trigger specific actions when a gap outside of tolerance is detected.
Types of Gap/Clearance Measurement Tools
There are different types of clearance and gap measurement tools based on the specific application. Most manufacturing facilities rely less on handheld scanners—except for human quality control—and more on fixed and inline systems within production lines.
This is particularly true for all the major industries, such as electronics, aerospace, metal fabrication, plastics manufacturing, and automotive. Here is a breakdown of the most common types of clearance or gap measurement sensors and tools:
1D Optical Micrometers
KEYENCE's LS-9000 Series optical micrometers are designed for gap and clearance measurements in industrial settings. These non-contact sensors use silhouette data to accurately measure gaps and clearances of various sizes. For example, these sensors can obtain the gap between rollers by measuring the width of light that is passed through.
The LS-9000 Series also tracks workpiece inclination and measures the position between the transmitter and receiver, automatically correcting tilt errors. This feature allows for more stable measurements and improved production line cycle times in industries like the automotive industry.
Furthermore, the LS Series is designed with a high-performance condenser lens unit that efficiently focuses the LED light, enhancing measurement accuracy. The solid-state design of these sensors ensures long life, making them a cost-effective and reliable solution for gap and clearance applications.
2D Optical Micrometers
2D optical micrometers, like KEYENCE’s TM-X5000 Series thru-beam sensor, also use silhouette data to take measurements. However, their ability to capture data in 2D allows for more complex gap and clearance measurements. For example, they can measure the maximum gap of a part or gap-to-gap data.
The dual telecentric optical system used in KEYENCE’s TM-X5000 Series ensures that only collimated light is used for imaging, providing a stable and accurate measurement. Even with changing lighting conditions, the sensor will maintain consistent measurements.
The automatic correction feature also allows for accurate measurements even if the target object has a slight deviation or inclination. This makes the TM-X5000 Series ideal for use in industries such as automotive, aerospace, and electronics manufacturing, where precision and efficiency are crucial.
Laser Displacement Sensors
Laser gap measurement sensors are fantastic at capturing various measurements across numerous applications that demand high precision and non-contact measurements. They’re typically categorized as confocal laser sensors and laser triangulation sensors.
Confocal laser displacement sensors work by focusing a laser beam through a pinhole aperture onto the surface, which is then detected by the sensor. The intensity of reflected light determines the distance of a single point, and multiple points can be connected together to create a surface profile. This profile can then be used to idetify and measure any gaps.
Laser triangulation displacement profiles, or 2D laser profilers, project a laser beam onto the object's surface. The beam is then reflected to the sensor, and the distance is derived from the angle of reflected light. These gap measurement sensors are also used to create a surface profile and, thus, can be used as gap measurement tools.
Applications of Gap/Clearance Measuring Tools
Gap measurement sensors are widely used across numerous industries, from automotive, where they’re used as clearance and gap measurement systems for car bodies, engines, and assemblies, to aerospace, electronics, metal fabrication, plastic manufacturing, and overall quality control.
If your organization is looking to upgrade its manufacturing line by integrating non-contact gap measurement tools, contact us today. Our trained staff will answer all your inquiries regarding integrating KEYENCE’s equipment into your current setup.
Related Downloads
![Measurement Application Guide [Gap/Clearance Measurement]](/img/asset/AS_61801_L.jpg)


