Measurement Sensors
Flatness and Warpage Measurement
Flatness and warpage are distinct concepts in material science and metrology, but they’re related in the context of engineering, manufacturing, and quality control, as both are associated with the geometric accuracy of surfaces and parts.
When looking for the best way to measure warpage and flatness, it is important to consider the type of measurement system to use and the installation environment. Selecting equipment that doesn't adequately meet your needs can lead to insufficient precision and increased man-hours during production. This site is designed to help those looking for a warpage and flatness measurement system discover the best way to do so with confidence.
Get detailed information on our products by downloading our catalog.
View Catalog

What is Flatness Measurement?
Flatness measurement consists of analyzing the surface of a particular object to determine to what degree it adheres to a perfectly flat plane, ensuring the surface is as flat as possible (or at least within specified tolerances).
It’s also important to note that flatness measurement is a form of 2D measurement and shouldn’t be confused with surface roughness, which is a 2D measure of the fine irregularities on the surface of a particular object.
Flatness measurements are incredibly essential in many industries, as they often make sure that machine parts fit and work together properly. Poor flatness often leads to operational issues like improper parts fitting, increased wear, and ultimately the complete failure of a component or system.
How to Measure Flatness
Flatness measurements can be done using traditional tools such as a precision straightedge and a feeler’s gauge, which is quite suitable for general engineering purposes, or a surface plate and an indicator, which offer medium-precision results.
Coordinate Measuring Machines, or CMMs, are commonly used for high-precision measurements in industrial settings. These machines rely on a probe to touch various points on the surface of the part, and the flatness is calculated based on these points.
Sensitive and fragile objects can be measured using optical measuring methods such as measurement sensors and lasers.
What is Warpage Measurement?
Warpage refers to the distortion or deformation of various materials, including plastics, metals, glass, and wood that’s caused by various production or environmental factors. Warpage can cause parts and components to fold, bend, twist, or deform in any other way, leading to potential complications in the final part or product assembly.
Warpage measurement is the process of assessing distortions that affect the object in more than one plane. Unlike flatness, which is almost always a 2D measurement in 3D space, warpage measurement is strictly 3D.
Such measurements are typically done using physical gauges and jigs, but they’re also gained from CMMs and high-precision lasers. Warpage measurement is crucial in numerous industries, such as manufacturing, where it ensures the proper fit and function of various produced parts.
How to Measure Warpage
Warpage is usually assessed visually, comparing an object against a known flat reference surface, but this method is only suitable for large and obvious warpage. More precise measurements involve a straightedge and a feeler gauge, which provide a moderate level of precision.
For more precise warpage measurement, CMMs also measure several points across the part’s surface to determine warpage, while laser displacement sensors rely on calculating the height/distance changes between the sensor head and part surface.
Find the best measurement method and the right equipment to measure "Warpage and Flatness".
Measurement of Warpage/Flatness Using Multiple Sensor Heads
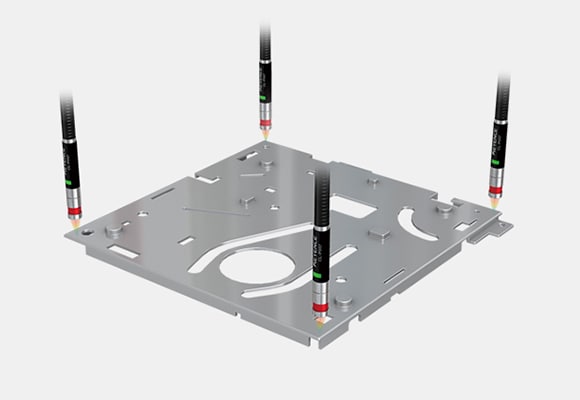
Warpage and Flatness are measured by calculating the height difference obtained by multiple sensor heads at different locations on the part. Measurement errors caused by vibrations from when an individual sensor head is moved to the different measurement locations do not occur. Because the sensor heads are not moved, inspection cycle times are fast. No mechanism for moving the sensor head is required.
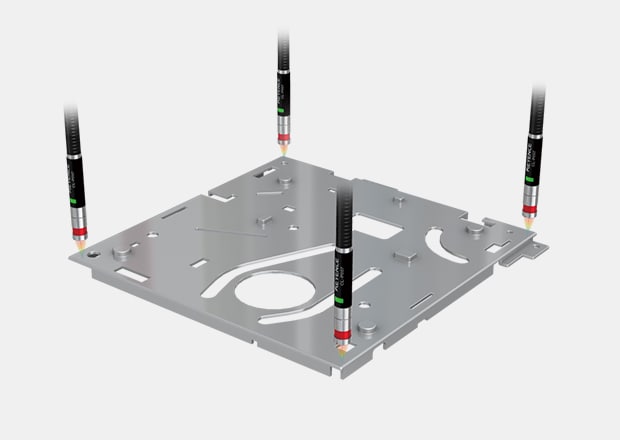
Flatness measurement of chassis
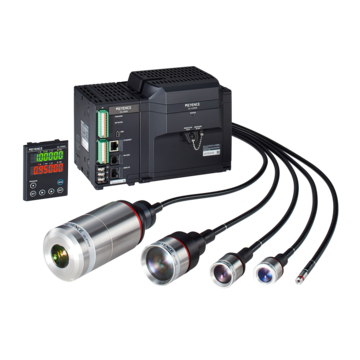
Confocal Displacement Sensor CL-3000 series
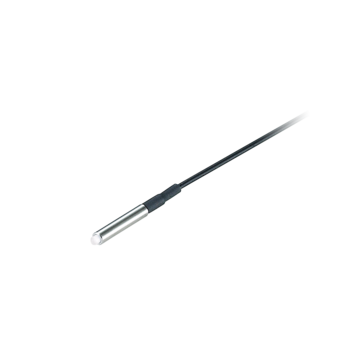
Micro-head Spectral-interference Laser Displacement Meter SI-F series
Measurement of Warpage/Flatness Using One Sensor Head (1D Laser Displacement Sensor)
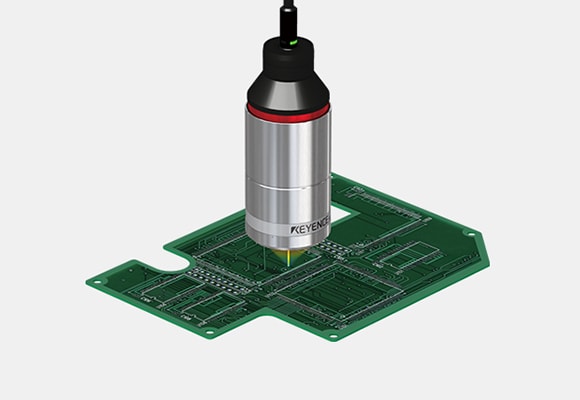
The target or sensor must be moved, warpage and flatness is calculated by the data collected at each measurement location. Only one head is used, so costs can be reduced. Vibration from when the sensor heads are moved causes measurement errors. A mechanism for moving the sensor head is required.

Warpage measurement of PCBs

Confocal Displacement Sensor CL-3000 series

Micro-head Spectral-interference Laser Displacement Meter SI-F series
Measurement of Warpage/Flatness Using One Sensor Head (2D Laser Displacement Sensor)
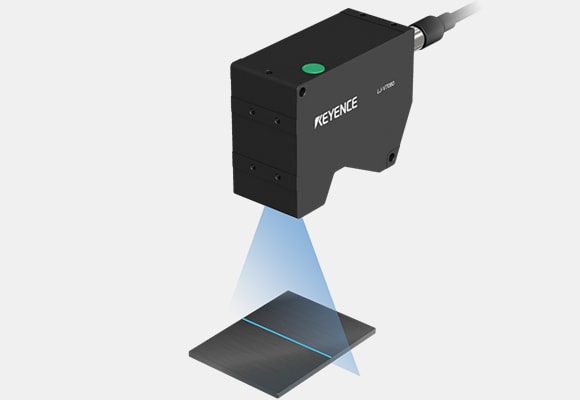
A laser line is reflected from the target surface, warpage is measured by evaluating the height differences on the reflected profile. Warpage can be measured without moving the sensor head.
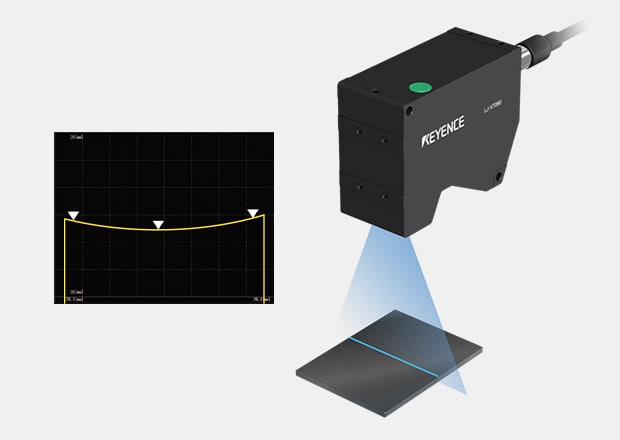
Warpage measurement of material edges

2D/3D Laser Profiler LJ-X8000 series

Confocal Displacement Sensor CL-3000 series
Why are Flatness and Warpage Important to Monitor?
As described above, flatness and warpage measurements are key in various industries and applications, especially in those that demand high-precision and precision fitting, as well as machines that rely on flatness and lack of warpage for operational reliability and seamless assembly and integrations between parts.
Ready to optimize your measurement process with KEYENCE’s advanced laser displacement sensors? Contact us today for a consultation!
Related Downloads
![Measurement Application Guide [Height/Step/Flatness Measurement]](/img/asset/AS_46769_L.jpg)
![Measurement Application Guide [Warpage/Bow/Flatness Measurement]](/img/asset/AS_55845_L.jpg)

