Measurement Sensors
Dimension Measurement
Displacement Measurement
Measurement Sensors for the Bearing
Embedded bearings play a key role in the operational efficiency of plants, consumer electronics, and engines. They help reduce friction and ensure the durability of parts like rotating shafts, gears, and wheels, which are all critical to performance.
Temperature levels, scratches, accurate measurements, and alignments are all important concerns in bearing manufacturing. Manufacturing plants must inspect these areas to meet regulatory requirements. With rising demands for miniaturized bearings, manufacturers need to approach inspection efforts with attention to detail.
Choose Case of Measurement Sensors for the Bearing
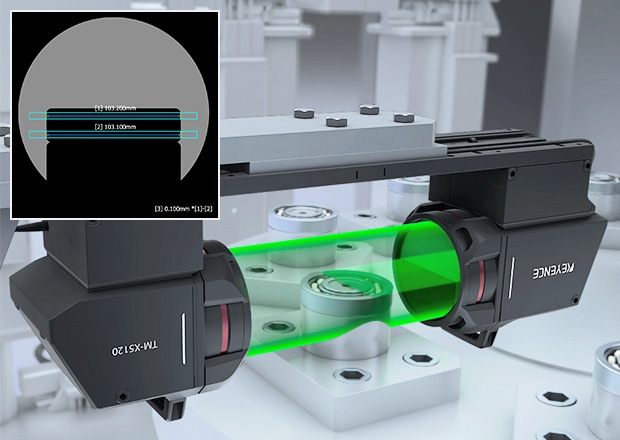
Outer Diameter Measurement for Large Bearings
Measurement is possible even for bearings over ø100 mm ø3.94″ with just one sensor head. Differences between top and bottom outer diameter can also be measured.
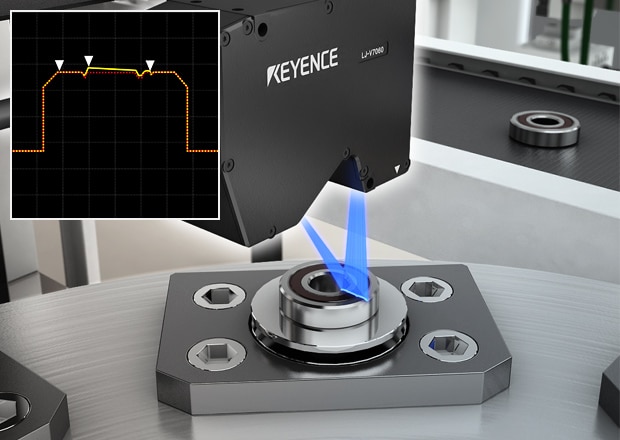
Detections of Seal Lip Peeling and Scratches
The lip part of seals is easy to peel off, so the LJ-V7000 Series is used to inspect for this problem. Also, because the location where the peel started from is unknown, the bearing must be rotated to inspect its entire circumference. Due to the miniaturization of bearings and the increase in the number of bearings produced, there are demands for both improved inspection takt time and improved inspection capability.
The LJ-V7000 Series boasts the highest speed in the world at 64000 profiles/s, which makes it possible to perform extremely fast processing. Also, because the LJ-V7000 Series has 16 outputs, a variety of inspections can be performed—such as measurements of the overall height and shape of the seal and the surface runout of the inner and outer races—simultaneously with the lip peeling inspection.
Understanding Bearing Inspection
Also known as the outer ring or housing, the outer race is the outermost part of a bearing that gives the inner race a path to ride on. Measurement sensors like KEYENCE’s LS-9000 Series measure the outer race, and the TM-X5000 Series measure the inner race. These are used to inspect both parts for roundness and accurate diameter measurement. Mismatch in measurements can lead to bearing failure and costly production issues.
Traditionally, contact measurement tools like micrometers and calipers were employed in inspection. In modern, fast-moving manufacturing lines, these conventional measures are not practical. Plus, the growing popularity of miniaturized bearings puts the traditional tools out of place in manufacturing line bearing inspection needs.
In high-volume production lines, non-contact bearing sensor systems simplify the number of inspection mechanisms needed and provide accurate results.
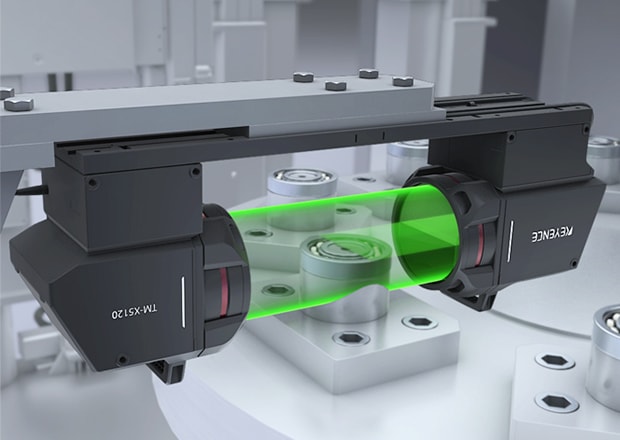
Telecentric Measurement System
TM-X5000 Series
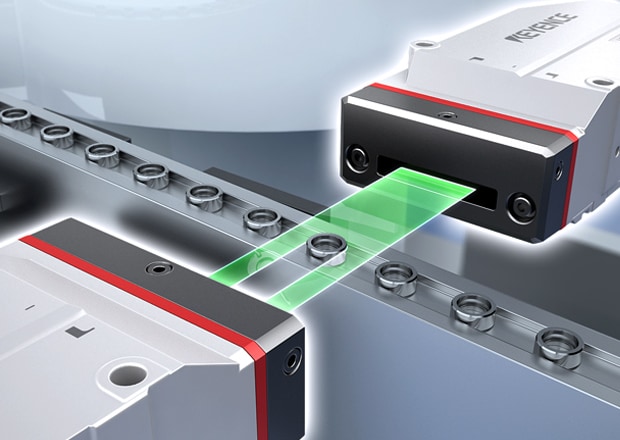
High-speed optical micrometer
LS-9000 Series
Get detailed information on our products by downloading our catalog.
View Catalog

Types of Bearing Inspection Tools
Different types of measurement sensors are used in bearing inspection.
Contact Measurements Include:
- Calipers
- Micrometers
- Plug gauges
- Ring gauges
Examples of Non-Contact Measurements are:
- Laser profilers
- Laser displacement sensors
- Capacitive sensors
- Ultrasonic sensors
The major difference between the two categories of measures is that contact measurement tools need to be in contact with the bearing, while non-contact can inspect bearings at a distance.
Calipers and other contact inspection tools are a bottleneck in high-production lines as they are not suitable for bearing inspections in fast-moving, automated lines.
Non-contact measurement equipment uses various technologies such as optical imaging, inductive sensing, and laser triangulation. These modern, high-tech inspection tools enable manufacturers to identify defects and deviations in design. They also help in compliance with regulatory design specifications, especially for miniaturized bearings.
With 3D sensors like laser displacement sensors, manufacturers can achieve even more accurate measurements and inspections of bearings inside and out with micron-level accuracy. From surfaces with little reflection to luster surfaces, 3D sensors can deliver reliable results.
We’re here to provide you with more details.
Reach out today!

Benefits of Using Bearing Sensors
Precise and accurate inspections is probably the number one benefit of using sensors in bearing manufacturing. Non-contact sensors like the LS-9000 Series can be utilized in the production of compressors, pumps, turbines, and generating sets to inspect for measurements, temperature levels, alignments, design defects, and more. This can help human inspectors make data-driven decisions.
Manufacturers are able to reduce costs associated with manual and human inspections. Sensors like the TM-X5000 Series used in bearing manufacturing are capable of inspecting thousands if not millions of bearing units in a day, and make full in-line inspections possible. Minimal human input is typically needed to install the sensor and for overall inspection. Manufacturing companies are better able to meet regulatory standards and requirements by incorporating the right sensors in their production lines.
The application of sensors for mass bearing production means using computer vision to detect missing rollers from duplex bearings, scratches, seal lip peeling, and bent outer races. This way, manufacturers can spot problems that could damage the bearing's structural integrity. With the right information, they can also make necessary changes in terms of measurement so quality standards can be preserved.
Implementing Inspection Sensors in Bearing Manufacturing
Bearing inspection sensors can be implemented in manufacturing lines. Contactless 3D sensors that can measure, inspect, and integrate with existing manufacturing systems should be given special consideration.
The quality of lenses, range of sensing, durability, functions, and range of applications are other criteria to carefully evaluate before committing to any system.
KEYENCE’s sensors, like the LS-9000 Series, can be useful not only in bearing manufacturing facilities but also in many other industries. Our line of sensors can help detect scratches and irregularities with high precision.
Have any questions about our bearing inspection sensors? Contact us today.
Contact us to learn more about how our advanced technology can help take your business to the next level.
Contact Us
Related Downloads
Applications
Dimension Measurement
- Thickness and Width Measurement
- Step Height Measurement
- Inner and Outer Diameter Measurement
- Measuring Angles
- Meandering/Edge Measurement
Displacement Measurement
- Positioning and Stroke Length Measurement
- Vibration and Runout Measurement
- Deflection Measurement
- Measuring Eccentricity

