Measurement Sensors
Dimension Measurement
Displacement Measurement
3D Profile Measurement
3D profile measurement systems have become increasingly popular due to their ability to scan a surface in all three dimensions and provide detailed information about the surface topology of scanned objects. These measurement systems became invaluable across various industries for a range of applications, including product quality control in manufacturing, dental and medical imaging, and many other industries.
However, when looking for the best way to perform profile (3D) measurement, there are several important factors to consider, including the type of measurement system and the installation environment. Selecting equipment that doesn't adequately meet your needs can lead to insufficient precision and increased man-hours during production. This site is designed to help users determine the best way to perform measurements with confidence regarding a 3D shape measurement system.
Choose Case of 3D Profile Measurement
Improving In-line 3D Inspections with Laser Snapshot Sensors
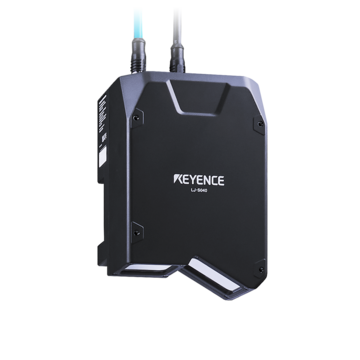
Real-time inspections help avoid product deficiency and improve production efficiency. As such, KEYENCE laser snapshot sensors for 3D profile measurements help provide a fast and accurate way to inspect parts directly in the production line. This reduces manual errors, as there will no longer be a need for manual measurements while reducing downtime and ensuring every product meets its required specifications. The 3D profile measurements instantly capture data, making them your ideal choice for in-line 3D inspections with laser sensors.
In addition to their high-speed and accuracy, the LJ-S8000 Series sensors also offer various measurements such as height, volume, distance, angle, and more. This versatility makes them suitable for a wide range of applications, from automotive and electronics manufacturing to medical devices and consumer goods.
Offline 3D Profile Measurements Enhanced by Snapshot Sensors
For a more detailed analysis, you can enhance the process through offline 3D measurements using laser snapshot sensors. These sensors allow manufacturers to perform thorough inspections on parts removed from the production line, allowing for a deeper evaluation of complex surfaces. This can help identify potential defects or areas for improvement, ensuring high-quality products are consistently produced.
How to Measure 3D Shapes
Accurately capturing and presenting 3D profiles requires a selection of adequate measurement methods and equipment. You should begin by clearly defining your specific need and application—such as measurement area’s size, required resolution, and scanning speed. After that, you should familiarize yourself with the optimal measuring systems available. Don’t hesitate to seek industry expert advice, as it can often provide valuable insight. Find the best measurement method and the right equipment to measure "3D Shapes".
We’re here to provide you with more details.
Reach out today!

The Measurement Location is 10 × 10 mm or Smaller
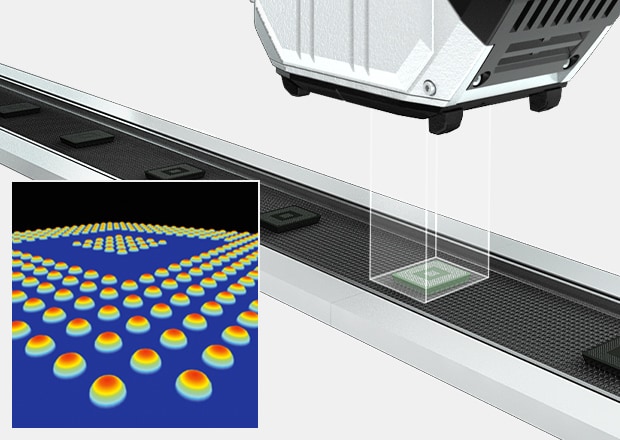
Precision is crucial when it comes to small measurements, and in this case, high-resolution interferometry imaging techniques could be employed, as they would allow capturing the surface area down to all the minute details. Laser scanning confocal scanners are applicable for fine-scale applications, such as measuring the height of balls on a BGA. The optimal measurement system for this application is a reflective 3D laser displacement device, as it captures 80,000 points of height data.
The WI-5000 Series captures 80,000 points of height data instantaneously across a maximum measurement area of 10 × 10 mm.
The principles of white light interferometry result in highly accurate micron-level measurements with no influence from the material, color, or blind spots.
Even if the target is at an angle, automatic correction allows the surface shape to be captured accurately.
This makes highly accurate micron-level measurements possible.
The Measurement Location is Larger than 10 × 10 mm (In-line Measurement)
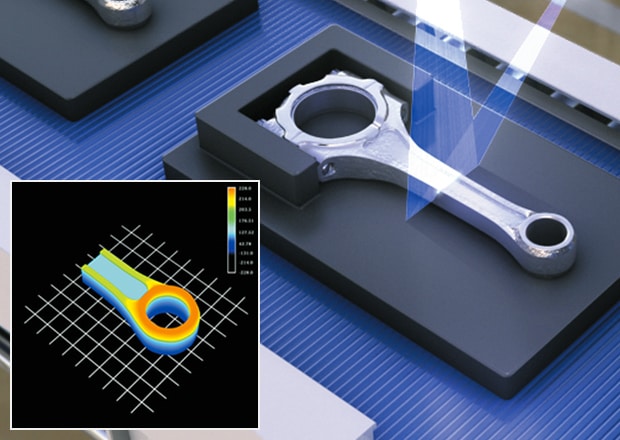
Speed and efficiency of the measurement process become increasingly important when dealing with in-line measurements for areas larger than 10 × 10 mm, as these measurements are usually done during the manufacturing process. Laser triangulation and structured light scanning are the two most commonly used 3D scanning techniques used during in-line measurements, as they can rapidly capture the object’s 3D profile while the object moves along a production line. The optimal measurement system associated with this application lies in 2D Triangulation Laser Displacement.
A 3D shape can be constructed by acquiring and overlaying multiple cross-sectional shapes from locations where the laser line hits. In-line measurement of the entire shape is achieved with the fastest sampling speed in the world.
The Measurement Location is Larger than 10 × 10 mm (Offline measurement)
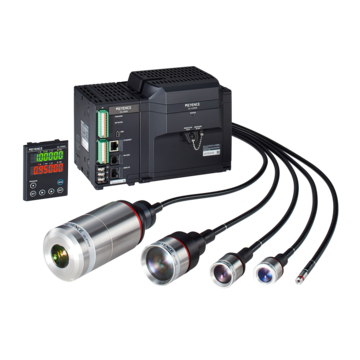
Offline measurements refer to those measurements that are taken off the production line. This approach ensures more time and flexibility, allowing for a more time-intensive and, thus, a more precise approach to scanning the surface of the object. The optimal measurement system associated with this profile is Triangulation Laser Displacement +X-Y Stage technology.
High-precision 3D shape measurement is possible by combining a 1D laser displacement sensor with an X-Y stage.
- Selective use of sensor heads enables shapes of various heights to be measured.
- The shape of transparent 3D targets can also be measured.
How can 3D Images Be Created from 2D Measurements?
3D laser displacement sensors record 3D data as a series of 2D scans and then use software to analyze the collected data and present it as a whole, coherent 3D profile of a certain object. This software does more than simple scanning; it generates detailed reports that provide measurements and identifies potential issues and anomalies that can occur. This is why 3D profile management is important. It centers on data collection, stores it, and sets various benchmarks based on performance—this includes collaborations or maintenance as well.
Laser Snapshot Solutions for High-Precision 3D Profile Measurement
The demand for precision is growing across industries, and laser snapshot solutions like KEYENCE’s LJ-S8000 Series are meeting that need. With their ability to measure profiles, contours, and dimensions in a single capture, these solutions offer unmatched accuracy and versatility. Whether for in-line or offline applications, 3D laser snapshot technology ensures consistent, reliable results that enhance quality control processes and reduce material waste.
Ready to elevate your inspection process? Contact us today to explore how KEYENCE’s 3D laser snapshot solutions can improve your production accuracy and efficiency.
Contact us to learn more about how our advanced technology can help take your business to the next level.
Contact Us
Related Downloads
![Key Technology and Applications [3D Measurement]](/img/asset/AS_110781_L.jpg)
This guide compiles examples of 3D measurement applications using the LJ-X8000 Series 2D/3D laser profilers. Benefits in various inspection processes and items are explained concisely with graphics.
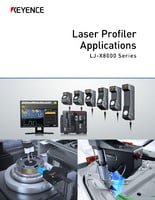
This guide offers many examples of 2D and 3D profile measurements and inspections using laser profilers. The high-definition imaging of the LJ-X8000 Series at 3200 points per profile enables reliable detection of even the slightest defects.
Applications
Dimension Measurement
- Thickness and Width Measurement
- Step Height Measurement
- Inner and Outer Diameter Measurement
- Measuring Angles
- Meandering/Edge Measurement
Displacement Measurement
- Positioning and Stroke Length Measurement
- Vibration and Runout Measurement
- Deflection Measurement
- Measuring Eccentricity

