Measuring Instruments
Surface Plate

A measuring tool that provides an ideal plane as a reference for measurement. In GD&T measurement, it is used as a plane that supports the datum plane. Surface plates are generally made of either stone (granite, etc.) or casted iron.
The most common type of surface plate is the box-type surface plate. The type of surface plate with the highest precision is the precision surface plate, which is still used as the basic reference instrument for measurement and inspection.
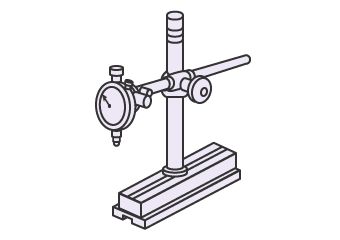
Dial Gauge

A measuring tool that measures and compares parallelism and height. A dial gauge can indicate changes in the target’s warpage or eccentricity in detail. Dial gauges come in two types: the spindle type, which has a stroke of several millimeters, and the lever type, which uses the dial to increase the rotation angle of the cantilever. Digital indicator types, which display measurements digitally, are also used today. When using a dial gauge for measurement, the reference size is created by a gauge block.
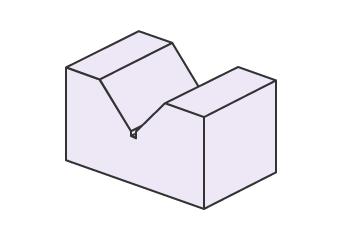
V-block

V-blocks are used as support for circular or spherical measurement targets. They are made of steel or casted iron. Types include common V-blocks, box-blocks with a V groove, and A-type V-blocks. These are selectively used according to the feature of the target and/or the purpose of measurement.
Height Gauge

A height gauge is used in part machining and measures dies, tools, and jigs. Measurements can be accurately read, with the scale (or digital meter), the base of the scale, and the surface gauge being integrated. Using a dial indicator holder, a lever-type dial gauge can be attached to measure parallelism, flatness, and straightness. Measurements need a surface plate to be used as a reference.
Limit Gauge/Function Gauge (Location Gauge)
A limit gauge inspects the dimensional size (finished dimensions) of mass-produced machine parts. A function gauge inspects the maximum material condition.
A coordinate measuring machine can be used for the inspection of parts with the maximum material condition indicated. However, it takes time to perform 100% inspections and other cases where a large number of targets need to be inspected.
Using three types of gauges, namely the GO limit gauge, NO-GO limit gauge, and function gauge, can help simplify pass/fail inspections for dimensions and geometric tolerance. Inspection operations are easy, and quick inline inspections are also possible.


