CMM (Coordinate Measuring Machine)
Flying J Machine: Flying Forward
San Diego manufacturing company simplifies its inspection processes with equipment from KEYENCE.

Like most of us, Jay Hegemann deletes a lot of emails every day. Everything from miracle cures for baldness to special offers from credit card vendors go right into the trash. However, something about the email from KEYENCE’s sales engineer earlier this spring caught Hegemann’s eye and he decided to take another look. It’s a good thing, because the product advertised in that message has been a game changer for this small manufacturing firm.
“You usually read one sentence and hit the delete button, but then I saw a little picture of the KEYENCE XM and it got my attention,” he says. “It was interesting enough for me to say, ‘Yeah, I’ll actually take time out of my day to look at this thing,’ so I gave our system specialist a call. I’m glad I did.”
THE TAKE OFF
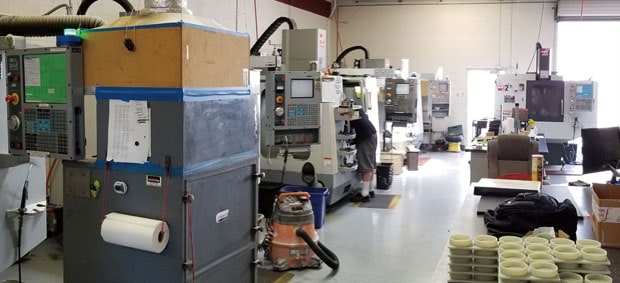
Hegemann is the President of Flying J Machine, an Escondido, CA machine shop and specialty manufacturing company. He’s been in business since 2000, has nine employees, nearly 8,000 square feet of floor space, and a variety of modern equipment. This includes several Haas CNC machining centers and lathes, a Mitsubishi wire EDM, laser cutting equipment, and a small hole EDM machine. Much of his work is oceanographic in nature—instruments that measure water properties, mostly—but Flying J also has customers in the semiconductor, communications, and defense industries.
Hegemann is self-taught. While working in his father’s small product development company during his early twenties, Hegemann convinced him to buy a CNC knee mill. Over the next six months, he read the manual and began making prototypes for his Dad. When a local business asked him to machine some parts, Hegemann jumped at the prospect. Since then he’s gone off on his own, continuing to add capabilities to his growing company, even though he’s often had to stay up all night learning a new skill or mastering a machine tool.
THE CLIMB
Like most machine shops, Flying J has a Coordinate Measuring Machine (CMM), and as Hegemann explains, there’s usually one guy that knows how to run it. “It uses PC-DMIS, which requires a fair amount of training to learn. So you send someone out to class, thinking they’ll train everyone else when they get back, but then that person quits, or he does train other people but they use it so seldom that they forget. Unless you have a large shop where it’s being used all the time, I think most Coordinate Measuring Machine (CMM)s end up like mine—expensive dust collectors.”

Thanks to President Jay Hegemann, Flying J Machine has grown to 14 CNC machines and 9 employees in its short history, and now services a variety of high-tech industries.
Hegemann says he wanted a piece of measuring equipment that anyone could walk up and use, without the need for complicated programming and extensive training. So when KEYENCE’s local XM specialist brought the system in for a demonstration, Hegemann knew a good thing when he saw it.“The writing was on the wall,” he says. “The XM is fast, accurate and easy to use. I ordered one that day.”
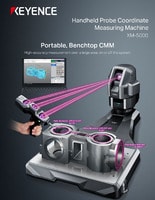
The KEYENCE XM Series Coordinate Measuring Machine (CMM) is small enough to fit on a bench, but thanks to its movable stage and handheld probe, it can even measure large and complex parts. It has a simple user interface with an extensive, but easy to understand list of measurement options. Tools such as lines, points, circles, and planes are displayed on the screen, walking the user through the measuring process while providing GD&T functionality, virtual figures, statistics and trend analyses, deviation display, and other advanced features.
THE CRUISE
Hegemann says the XM is simple enough to use that they skipped the offered training and got right to work—everyone in the shop has since been able to check their own parts with just a few minutes of instruction. “It’s so much better than our Coordinate Measuring Machine (CMM),” he says. “You just walk up, click on the appropriate icon, and you measure a bore, distance between holes, flatness, whatever. I can’t really say how much time it saves, because it’s more a case of something that is actually being used compared to something that’s not being used.”
To those who might be skeptical of the handheld probe (as was Hegemann, initially), he says the XM is incredibly accurate. “I wasn’t sure at first, so I grabbed a 1.4375-inch ring gauge, which is ground to within 50 millionths (0.000050 in.), and started checking. Every time I measured it, the KEYENCE XM was within a tenth (0.0001 in.) of what it was supposed to be. You don’t have to be super careful, you just hold the probe to the surface, apply a little pressure, hit the button and move on to the next point. It’s the real deal.”


