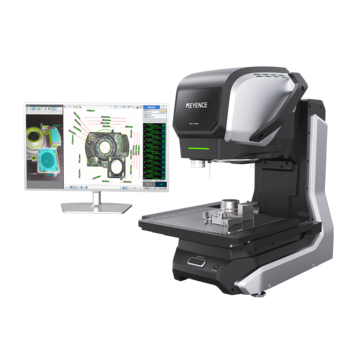
Optical Comparator (Profile Projector)
What Is an Optical Measurement Device
Key Takeaways
- Optical measurement uses light, lenses, and sensors for non‑contact dimensional data.
- Manual comparators use shadows; automated instant measurement systems digitize and speed up the measurement.
- Telecentric optics and CMOS sensors eliminate distortion for consistent, high‑res images.
- Traditional comparators limit 3D measurement and have larger operator‑dependent error.
- Transitioning to IMs needs calibration, data migration, and workflow compatibility checks.
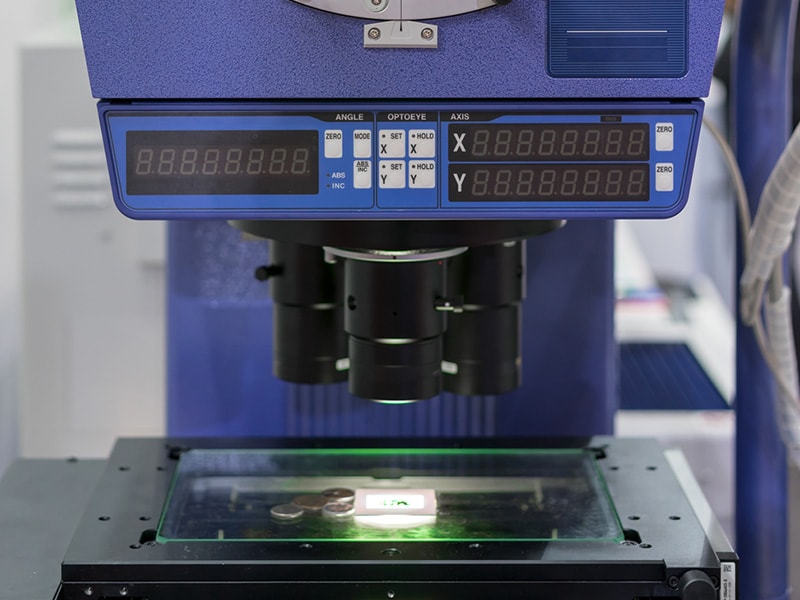
Measurements and related measuring equipment have helped manufacturers since the early days. But what is optical measurement? Optical measurement is a method of obtaining precise measurements using light-based technology. It involves the use of devices such as cameras, lasers, and sensors to capture data from objects or surfaces.
Examples of optical measuring instruments are microscopes, machine vision systems, and optical comparators. They use various light sources to project on a part and create a silhouette or illuminate a part surface in order to detect and measure an object. Whether the light is shining horizontally or vertically will affect how the shadow is produced. In turn, this determines how the part is measured.
Horizontal optical comparators shine light horizontally for a side shadow of a part. These types of comparators are best for parts in a fixed location. For instance, measuring a screw attached to a part. On the other hand, vertical optical comparators shine light vertically. Vertical comparators work best for flat parts or parts that can be moved around and unattached to a larger piece.
These devices can detect the smallest differences and gradations while promising an extremely low possibility of error. In the same vein, several types of optical measuring instruments are available, with fully manual or automatic control. Many manufacturers appreciate the technology for its noninvasive approach, which offers safer results for the product and the employees.
The optical measurement device plays a crucial role in ensuring overall efficiency. Many production lines would struggle to find a machine that can handle quality control at such a consistent and accurate rate.
Here is everything you need to know about optical comparators, from the basics of comparator measurement to the accuracy of optical comparator measurements. Discover the benefits of using optical comparators for precision measurement and explore the different types of optical comparators available.
Introduction to Optical Comparators
Patented in 1925, an optical comparator is a measuring instrument that uses a shadowed image to achieve non-contact measuring of parts. Optical comparators are known for their easy use when measuring part length, width, radii, diameters, and angles across industries like aerospace, automotive, and medical instruments.
However, as automated technology progresses and standard optical comparators stay the same, technicians are seeing limitations. The margin of error, manual adjustment, and lack of 3D feature measurement are becoming setbacks. In response, KEYENCE created image dimension measurement systems (IM-X) to enhance a typical optical comparator. In this blog, we'll dive into the technicalities of optical comparators and how IMs fit in.
Get detailed information on our products by downloading our catalog.
View Catalog

Types of Optical Measuring Instruments
Aside from being manual or automatic, there are many other nuances between the different principles of optical measuring instruments. While some have a more universal design approach, others are built for specific use cases, so understanding what separates one instrument is vital for effective application.
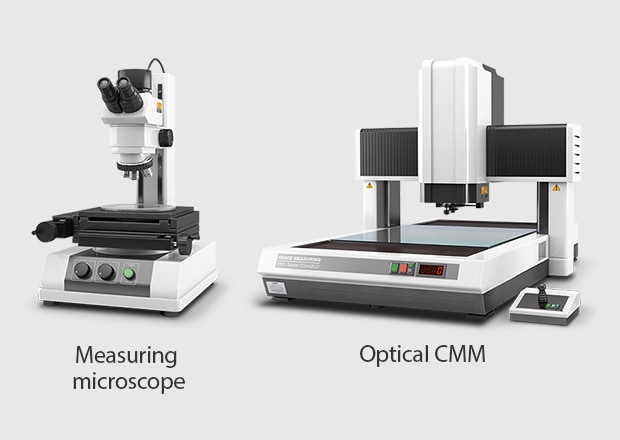
- Manual: Seen as the standard for generations at this point, manual optical measurements pertain to tools like the optical comparator. These are still widely used and relevant in manufacturing and quality control to this day. This is not to be confused with optical CMMs.
- Automated: Nowadays, we have the benefit of software-operated optical measurement machines. Speed and accuracy are the most significant benefits here, in addition to a simpler learning curve. Automated optical measurements can easily help streamline the production process in more ways than one. A good example of this technology can be found in multisensor measurement systems.
While optical measuring is effective, reviewing how image dimension measurement systems compare is crucial.
How Does an Optical Comparator Work?
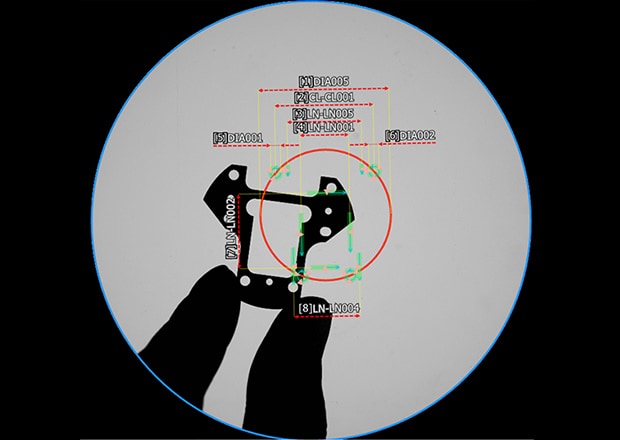
We've discussed the basics of how an optical comparator works, so now, let's dive into the comparator measuring process that takes place. First, an optical comparator captures an image of a part. The capturing could be done simply by shining the light. Or in more advanced systems, displayed on a screen. Next, the XY stage and dimensions are measured. Since many optical comparators are still manual and haven't changed much since 1925, this step may be done with the human eye by a metrologist or other technician. In advanced systems, optical comparators can achieve this in seconds automatically.
Optical comparators are versatile and are used for a range of measurements like length/width, radius/diameter, and angle. With some of these methods, extra accessories like fixtures, overlay charts, and curtains need to be used.
We’re here to provide you with more details.
Reach out today!

Why Are Optical Comparators So Popular?
Optical comparators have remained popular for so many years without change because of their measuring capabilities. The fact that optical comparators are a non-contact way of measuring is significant, as there’s no potential for damage or alterations on a sensitive part. Additionally, the non-contact method results in less human error from technicians accidentally moving the part—which frequently happens with hand gauges and other handheld tools.
Another reason why comparator measurement is widely used is because of the comparator's ability to measure the X and Y axes at the same time if needed. Handheld tools like calipers, micrometers, and height gages can only measure one axis, meaning an optical comparator helps increase measurement efficiency.
Applications of Optical Comparators
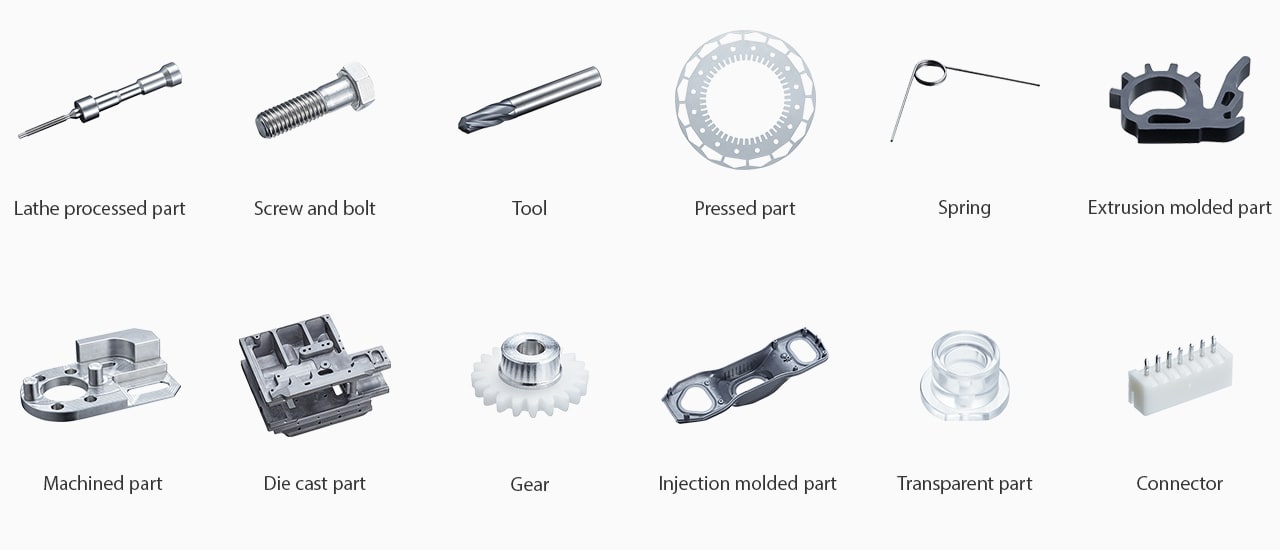
Optical comparators are used in various industries with a wide range of parts, including:
| Medical industry | Automotive industry | Aerospace and Defense Industry |
|---|---|---|
|
Medical industry
|
Automotive industry
|
Aerospace and Defense Industry
|
Discover more about this product.
Click here to book your demo.

Optical Comparator Measurement Criticism
Optical comparators are known for being easy to learn to use, but at what cost? Experienced metrologists and other technicians may be used for comparator measurement, but optical comparators have some downfalls in overall efficiency and inexperienced users.
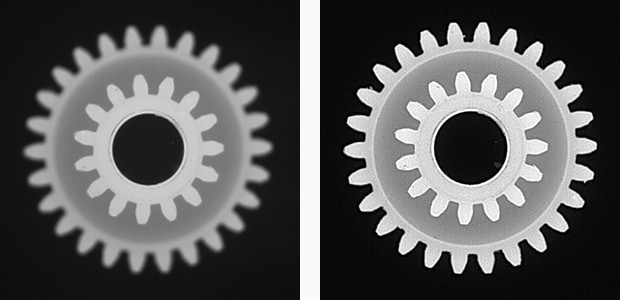
Lack of 3D Feature Measurement
Optical comparators generally only produce 2D images. If the measurement of 3D features is necessary, frequent reorientation and remeasuring are key. Additionally, adding extra tools like calipers/micrometers and height gauges also need to be added for measuring 3D features. This process is notably tedious and takes many man-hours.
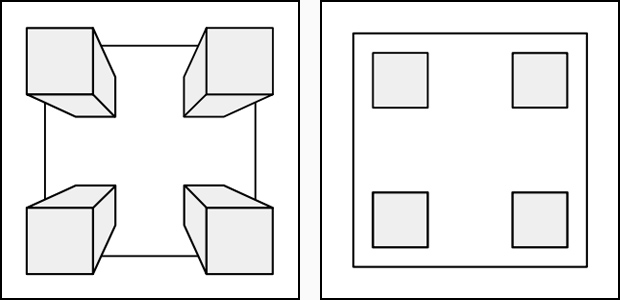
Large Margin of Error
Although measurements are generally accurate, the margin of error is too wide for tightly regulated industries. Measurement can be affected by human error or simply by different technician eyesight.
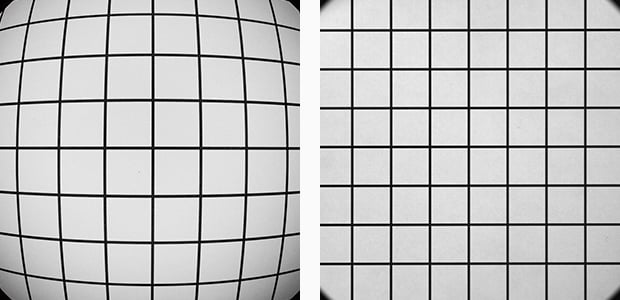
Distorted Images
Because the lens that optical comparators use is similar to a microscope, shadows are often distorted based on height. For smaller objects, the shadow is larger and vice versa. This distortion makes measuring large objects difficult and tedious.
Image Dimension Measurement Systems vs Optical Comparators
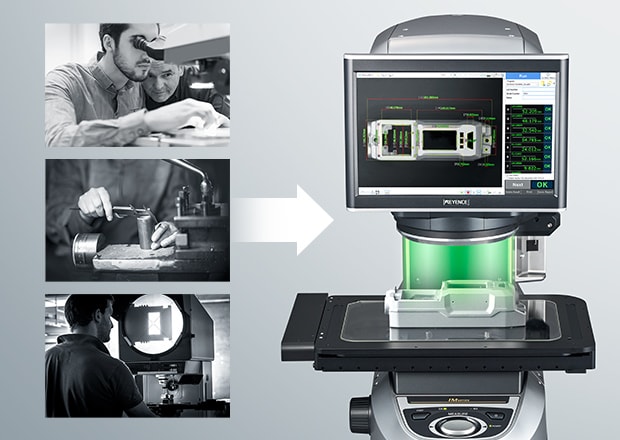
Optical comparator accuracy outperforms handheld measuring tools like rulers and hand calipers, but what outperforms a standard optical comparator that hasn't been changed in 100 years?
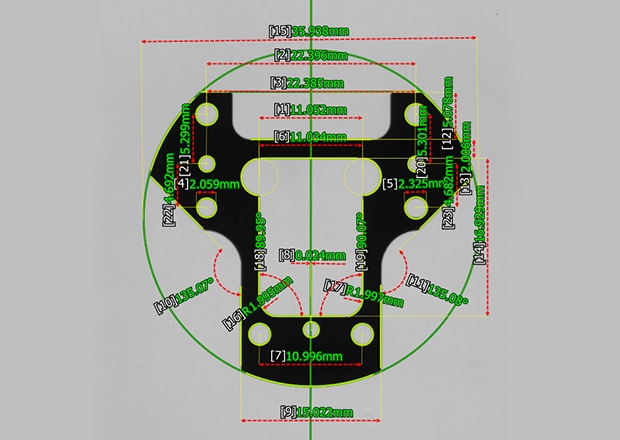
KEYENCE created image dimension measurement systems (IM-X), an upgrade to the tedious work of an optical comparator. IM-Xs are a digitized version of an optical comparator. The IM-Xs require two simple steps—just place and press. Instead of manually doing XY stage movement, the IM-X automatically detects location and orientation from anywhere the part is placed on the 300 x 200 mm stage. After the detection, the IM-Xs measure the part in seconds and report these stats. The IM-Xs cut down time on tedious calculating of statistical values, creating graphs, and writing long lists of measurements.
Not only do IM-Xs significantly cut down time, but they also use a telecentric lens instead of a conventional lens. The telecentric lens eliminates the possibility of distortion with shadows, enabling consistent and accurate measurement results regardless of the operator.
Get detailed information on our products by downloading our catalog.
View Catalog

Advantages of Using Image Dimension Measurement Systems Over Traditional Optical Measurement Instruments
It’s clear that both systems have their place in the world of manufacturing, but devices excel in a few key areas. Speed and accuracy are aspects of image dimension measurement systems that can’t be ignored.
Other notable benefits of IM-X System includes:
- More consistent reporting results
- Minimal physical inspection required
- Advanced analysis capabilities
Depending on the needs of manufacturing and quality control, the true benefits will vary a bit. However IM systems are applied, they consistently outperform many other measurement systems and traditional methods.
These devices easily sell themselves, but manufacturers should always keep a handful of considerations in mind. Transitioning to any kind of new system or machine in manufacturing and quality control requires ample preparation.
We’re here to provide you with more details.
Reach out today!

Key Considerations When Transitioning From Optical Measurement to Image Dimension Measurement Systems
As with any new machine in the manufacturing space, there will be a bit of a learning curve. This can be relatively minimal with automated machines, but it should still be expected in the beginning.
Moreover, system and workflow compatibility and data migration are other important considerations. Each system will also have its own setup, which includes calibration and other system parameters.
Regardless of a machine's effectiveness, accuracy verification and analyzing reports are essential. Transitioning from 3D optical measurement systems to KEYENCE’s IM systems can be a seamless process for many applications.
Moving Towards Instant Measurement Systems
Optical comparators are well known for being non-contact, easy-to-use, and versatile in measurements. But, as precision and efficiency are increasingly sought after, converting to an automated optical comparator like KEYENCE's image dimension measurement systems is becoming necessary. KEYENCE offers a modular instant measurement system, the IM-X Series that allows you to select your hardware set-up from an entry-level system to advanced capabiltiy. Each system uses "place and press" operation, meaning they only require two steps for the entire inspection process--place the part on the stage and press the button to measure.
KEYENCE's Instant Measurement Systems require no extra fees for software updates, have CAD modeling capabilities, measure in seconds, and use telecentric lens for capturing the part image. Want to learn more about how you can cut your measuring time down from hours to seconds? Contact KEYENCE, and our knowledgeable support team will answer any questions and even walk you through a demo!
Contact us to learn more about how our advanced technology can help take your business to the next level.
Contact Us
Related Downloads
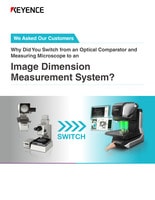
We asked our customers why they switched from conventional technologies to the IM Series Instant Measurement System. See how this system adds value to any inspection process.

See common optical comparator application examples measured on the IM Series Instant Measurement System. Application examples include: turned parts, machined parts, springs, stampings, fasteners, gaskets, etc.

![IM-X Series Questionnaire Answers from Users [Comparison to Optical Comparators and Measuring Microscopes]](/img/asset/AS_161634_L.jpg)
