- Home
- Solutions
- Case Studies
- Creodent Milling Center
Creodent Milling Center

About Creodent Milling Center
Creodent Milling Center, located in Fishkill, New York, is a full-service dental lab and dental milling center that has been serving dentists and dental lab customers across the country for nearly a decade. We specialize in the production of custom restorations and a wide array of prosthetic components, leveraging advanced Swiss-turn manufacturing and cutting-edge 3D-print technologies to remain at the forefront of our industry.
Before the LM-Series
Before implementing KEYENCE systems, our inspection process relied heavily on traditional tools such as microscopes, micrometers, and digital calipers. While these tools provided accurate measurements, they were time-consuming and limited in terms of throughput and consistency. As our business grew and the demand for higher volumes of high-precision components increased, we recognized the need for more advanced, automated solutions to maintain the quality standards our customers expect.
How did you hear about KEYENCE’S metrology products?
We first heard about KEYENCE’S metrology products from employees who had used similar technology in previous quality control positions and we continued to receive recommendations through peers in the manufacturing space who spoke highly of the performance and accuracy of KEYENCE systems.
What feature stood out to you the most on the system?
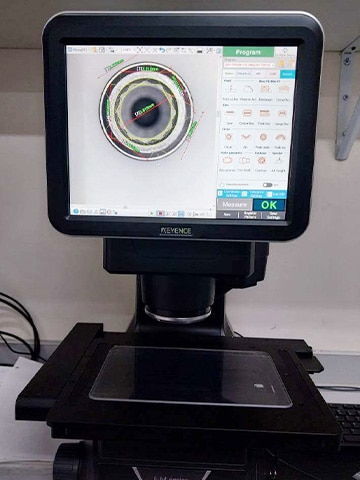
After researching the options available, we were drawn to KEYENCE’S image-based measurement systems, which stood out for their ability to measure multiple features and components simultaneously. This capability, along with the systems’ exceptional accuracy, was exactly what we needed to streamline our inspection process and increase our throughput.

What is your current experience with your equipment/KEYENCE support?
Our experience with KEYENCE has been overwhelmingly positive. After integrating our first KEYENCE digital microscope into our quality control workflow, it quickly became an indispensable tool.
Since then, we have purchased another microscope system to further expand our capabilities and the results have been very impressive. KEYENCE support has also been exceptional. Whenever we’ve had questions or needed assistance, their team has been responsive and knowledgeable, ensuring that we get the most out of our equipment. The combination of outstanding equipment and excellent customer support has made our decision to implement KEYENCE systems a resounding success.
What value has the tool brought to the business/why has the system been worth it for you?
The KEYENCE systems have brought tremendous value to our business. They’ve not only increased the speed and efficiency of our inspections but have also enhanced the consistency of our measurements. With manual inspection methods, there was always the potential for human error, but the automation provided by KEYENCE eliminates this risk, ensuring that we can deliver flawless parts every time. The systems have allowed us to scale our operations while maintaining the same level of quality, which is crucial in the competitive and precision-driven dental market.
APPLICABLE PRODUCT CATALOG

- LM Series High Accuracy Image Dimension Measurement System Catalog
Brochure for the LM-1100 Series High Accuracy Image Dimension Measurement System. Submicron accuracy part inspection with non-contact height measurement.
Related Products
-
- High Accuracy Image Dimension Measurement System
LM series -
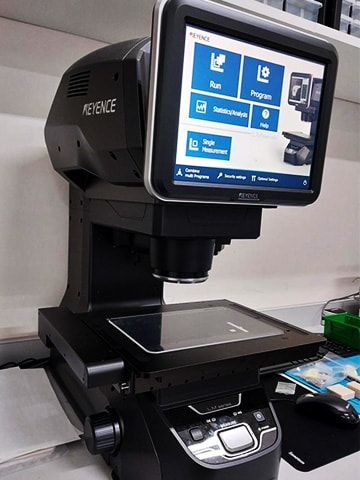
The LM Series High-Accuracy Instant Measurement System is an automated inspection system that can perform measurements to +/- 0.7 μm accuracy and +/- 0.1 μm repeatability at the push of a button. Similar to the IM Series, the unit has built-in edge detection with automatic focus and lighting. The unit also automatically records measurement data and creates detailed inspection reports. The image showcases our latest LM-1100 model which houses high-resolution double telecentric lenses for precision optical inspection and a large 9 x 5 inch field of view.
- High Accuracy Image Dimension Measurement System
- PLEASE
CONTACT US


