Digital Microscopes
Grain Size Analysis and Evaluation
Metal structures and mechanical properties of various metallic materials change due to heat treatment and other factors. To evaluate materials properly, reliable analysis of grain sizes is required in compliance with industrial standards.

This section introduces application examples of KEYENCE's 4K Digital Microscope, which solves problems of visual comparison in conventional grain size analysis and automatically computes grain size numbers in compliance with industrial standards.
Mechanical Properties and Grain Sizes of Metallic Materials
In addition to automobiles, metallic materials are commonly used in a wide range of fields and products, from infrastructure facilities to buildings and electric/electronic devices. Their types also vary widely and you need to select appropriate materials according to your application and purpose. For example, the mechanical properties required for metallic materials in the automotive body differ significantly from the materials used in engine components. In addition to types of metallic materials such as pure metals, like iron and aluminum, it is also important to understand metal structures and mechanical properties that change due to heat treatment and other factors.
Metal structures are polycrystalline bodies having crystal structures composed of many grains. Between grains, there is an area with distorted atomic arrangement, whose boundary is called a grain boundary.
Even with metals and alloys that are the same, their grains are arranged in a specific pattern by heat or other treatment as their atoms grow, resulting in a different grain boundary formation compared to before treatment. As grain sizes change, the mechanical properties also change. Therefore, material grain sizes changed by heat and other treatments are an important factor in evaluating mechanical properties.
Get detailed information on our products by downloading our catalog.
View Catalog

Metal Structure Evaluation Methods Through Grain Size Analysis
By analyzing the grain size of a metal structure, you can inspect and evaluate whether the metallic material has the mechanical properties you want. In general, grain size analysis, in which a metal structure sample is prepared to investigate the grain size and the distribution of grains using a metallurgical microscope, needs to occur for this evaluation.
There are various standards for grain size analysis. For example, in the United States, the analysis is carried out in compliance with ASTM E112-13: Standard Test Methods for Determining Average Grain Size.
In many cases, grain sizes are analyzed through visual inspection by way of a comparative method. Generally, grain sizes are estimated or identified using the following methods.
- Visual comparison using standard diagrams
The operator estimates the grain size number by visually comparing the metal structure sample magnified with a microscope against the standard diagram.
Grain size standard diagram for steel austenite (100x)

Grain size number 1

Grain size number 2
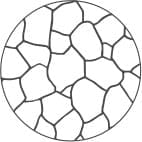
Grain size number 3
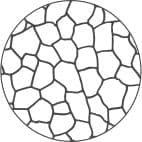
Grain size number 4
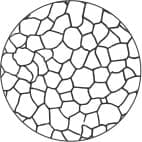
Grain size number 5
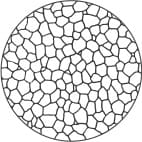
Grain size number 6
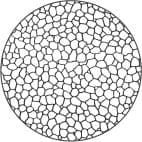
Grain size number 7
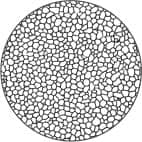
Grain size number 8
- Visual comparison using grain size charts
A grain size chart for an ocular lens, in which an image of the grain size pattern is inserted, is used with a metallurgical microscope to enable visual inspection with both the magnified sample and the standard diagram in the field of view.
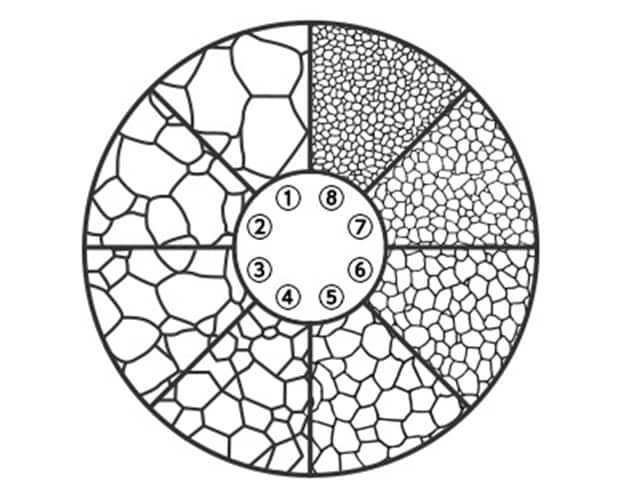
Grain size chart for a metallurgical microscope ocular lens used in visual comparisons
Grain size and grain diameter
In addition to the grain size, the grain diameter is also sometimes used to express the size of a grain. Generally, the grain size is expressed with a grain size number in a standard diagram compliant with industrial standards. On the other hand, the grain diameter is expressed with the diameter of the grain.
It is said, in many cases, that the larger the grain size number (the smaller the grain diameter), the better mechanical properties the metallic material has.
We’re here to provide you with more details.
Reach out today!

Problems in Grain Size Analysis
Grain size analysis by way of a comparative method using a conventional metallurgical microscope has the following problems.
- Grain size analyses using standard diagrams or grain size charts are carried out through visual comparison, so these inspections require a certain level of proficiency. Also, variations in analysis results between different operators prevent quantitative evaluation.
- If a camera is mounted on a metallurgical microscope, only the image of the metal structure is saved. This causes, for example, the following problems: it is not possible to obtain a comparison image in which a grain size chart for an ocular lens has also been captured and the intersection of the metal structure where the comparison and analysis was performed is not recorded.
- It takes time and effort to manually enter analysis results on paper or a PC and such operations also involve the risk of incorrect evaluation due to wrong entry.
We’re here to provide you with more details.
Reach out today!

Quantification and Streamlining of Grain Size Analysis with Grain Size Measurement
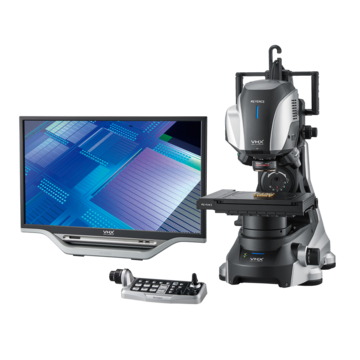
KEYENCE's VHX Series ultra-high-definition 4K Digital Microscope solves various problems in grain size analysis with conventional metallurgical microscopes and enables accurate analysis, measurement, and quantitative evaluation of grain sizes with simple operation, irrespective of the inspector's level of proficiency.
The VHX Series is equipped with a high-resolution lens, 4K CMOS, and specifically designed observation and measurement systems. Not only does the VHX Series provide users with magnified high-definition images using high-resolution 4K images, this state-of-the-art Digital Microscope also offers comprehensive functions required for metal structure grain size analysis. For example, highly accurate 2D and 3D measurements and grain size measurement (which automatically computes grain size numbers in compliance with industrial standards) are available for detailed analysis.
In addition, the results of repeated on-site interviews with customers have been an intuitive user interface and easy operations—which do not depend on the user's level of proficiency.
This section introduces examples of using the VHX Series for analysis, measurement, and quantitative evaluation of grain sizes.
Quantitative evaluation compliant with industrial standards using the grain size measurement function
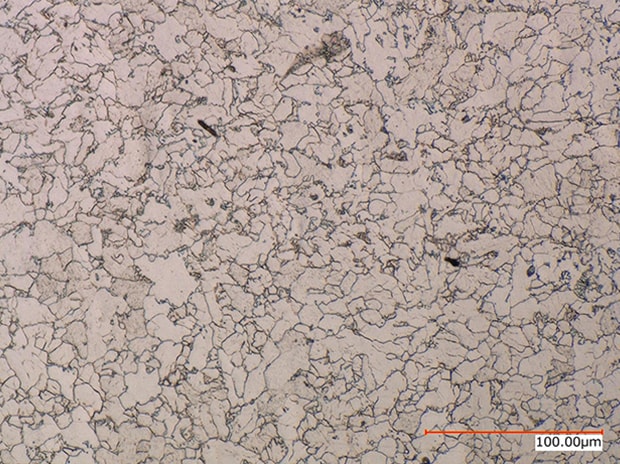
The VHX Series 4K Digital Microscope can automatically compute grain size numbers compliant with industrial standards such as ASTM E1382 on the basis of magnified high-resolution images. It is also possible to select a measurement method suitable for a metallic material from the Intersection count and the Supplementary grain count.
In visual comparison, if it is not clear to which grain number size a grain corresponds, evaluation results can vary between different operators.
With the VHX Series, however, a grain size number can be derived quantitatively through accurate measurement.
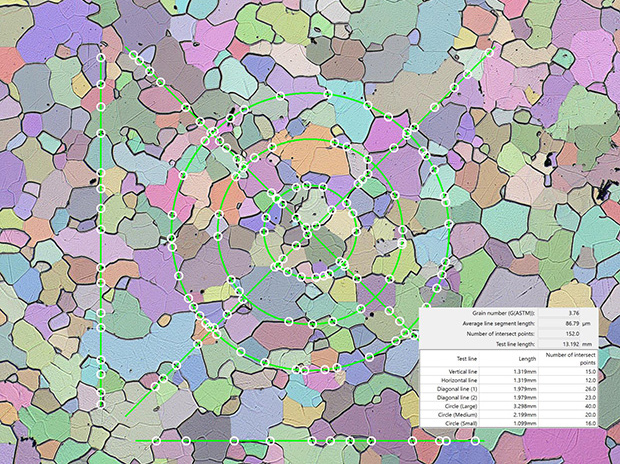
800x
Automatic measurement of the metal structure grain size using the VHX Series 4K Digital Microscope
Less affected by the polished state of a metal structure sample
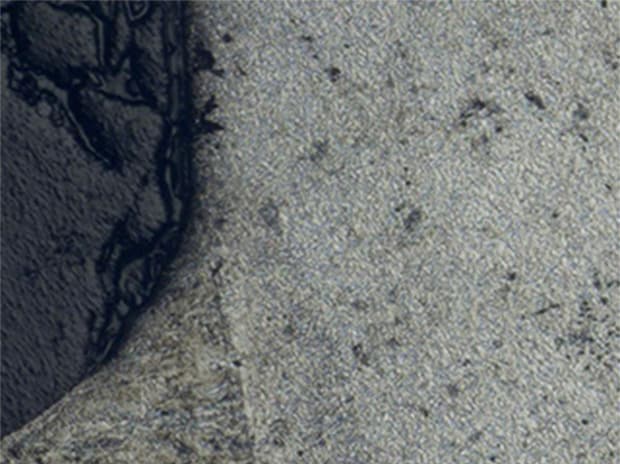
If the observation surface of a sample is not flat (such as an irregular polished surface of a resin-embedded sample), a conventional microscope can only bring a part of the target into focus due to the depth of field limitations.
With the VHX Series 4K Digital Microscope, the real-time depth composition makes it possible to instantaneously obtain high-resolution images in which the entire observation surface of the sample is fully focused, even for a resin-embedded sample having a tilted or uneven surface.
Measurement of the metal structure grain size using the VHX Series 4K Digital Microscope
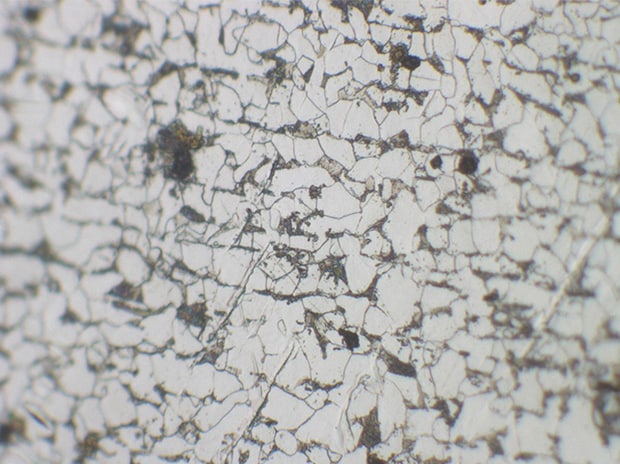
Normal
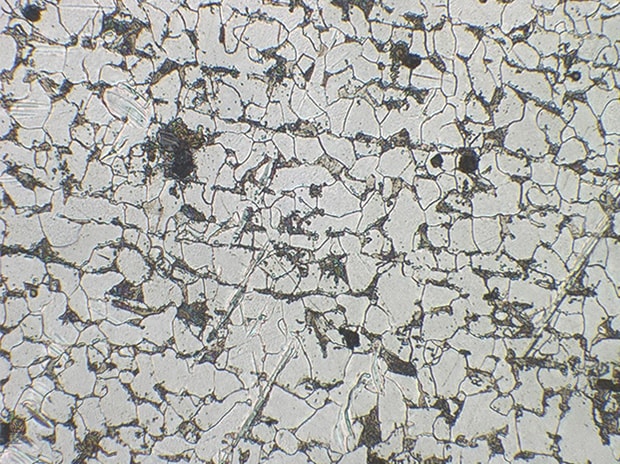
Depth composition
Metal structure sample observation through depth composition
Enabling easy acquisition of wide-field and high-resolution images
Even with a conventional microscope, high-magnification, high-resolution images can be captured, but only with a narrow field of view. This makes it difficult to understand which part of a sample the captured images shows, causing reduced work efficiency.
Conventional problem: High resolution but narrow field of view
The image stitching function of the VHX Series 4K Digital Microscope continuously captures images, with the stage under automatic control, at just the push of a button. Image data from different fields of view can be quickly stitched together, with no misalignment, to provide an image with up to 50,000 x 50,000 pixels. With the magnification and resolution unchanged, this image can be used as a bird's-eye view to enable efficient observation.

The image stitching function automatically controls the stage to enable a large area to be captured while still maintaining high magnification and high resolution.
Wide-field image through image stitching using the VHX Series 4K Digital Microscope
We’re here to provide you with more details.
Reach out today!

A Single Unit That Completes a Wide Range of Operations from Metal Structure Observation to Grain Size Analysis
In addition to the functions introduced here, the VHX Series ultra-high-definition 4K Digital Microscope is equipped with many more useful functions for observation, analysis, and inspection of metallic materials.
The VHX Series offers both easy operability and multi-functionality that overturns the concepts of conventional microscopes. Examples of this operability and multi-functionality include a glare removal function that is not susceptible to metal surface-specific light reflection and submicron-order, highly accurate 2D and 3D measurements that users can perform simply by selecting a magnified image.
Also, Excel can be installed on the VHX Series. The report function of the VHX Series automatically enters content such as magnified images and measured values into a desired template. With a single microscope completing a series of tasks quickly and easily, you can drastically improve your work efficiency.
For additional product info or inquiries, click the buttons below.
Get detailed information on our products by downloading our catalog.
View Catalog